Design at Apple
I was the lead designer for three different web applications at Apple. The following is an overview of the design process that worked well for me and the team I was a part of.
There's a lot left out of this, including the specifics of how this applied to the applications I helped create. Also, even though the process is presented linearly, it was often cyclical and different stages were often revisited. That said, it's a good overview of the process used from early stage product development to later stage feature development. This is the process that naturally emerged and solidified as I designed at Apple.

Understand the shape of the problem
It all starts with writing. I would write out my thoughts and my current understanding of the problem we were trying to solve. Once I’d gathered my thoughts, I'd hash it out with the team and explore questions we had. These team discussions expanded to other teams at Apple. The goal of meeting with other teams was to understand their pain points, and get a more holistic grasp of the problem we would be solving.
There were lots of different perspectives on what features should exist, and what our team should build. My job was to get underneath proposed solutions to understand the nature of the problem. Often this meant going to factories in Asia, or setting up meetings with stakeholders with unique backgrounds.
When building a product there are a large number of decisions that need to be made. Having a clear understanding of the problem is crucial for guiding you through all these decisions.
Create lots of variations
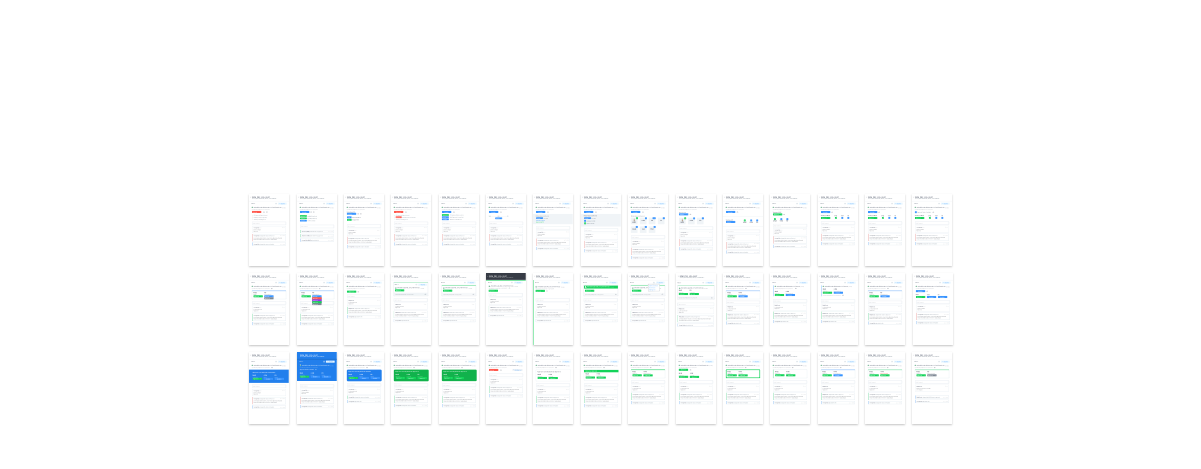
Depending on the level of complexity, I designed hundreds of design variations for a proposed solution.
Design is a process of divergence and convergence.
– Jon Gold
In this stage, there is a lot of collaboration. Managers and developers would jump in and come up with ideas. We would take those ideas, and measure them against how well they solved the known problem.
I used different tools to come up with these variations. The further down the process, the greater the level of fidelity. At the end of this stage, I had explored lots of nooks and crannies of our ideas.
Understanding the problem is a crucial tool for sifting through your designs as you discern which solutions you think have a good chance at working.
Prototype designs for feedback
This goal of this step is to reality test your assumptions. Specifically all the judgement calls you made as you decided on solutions.
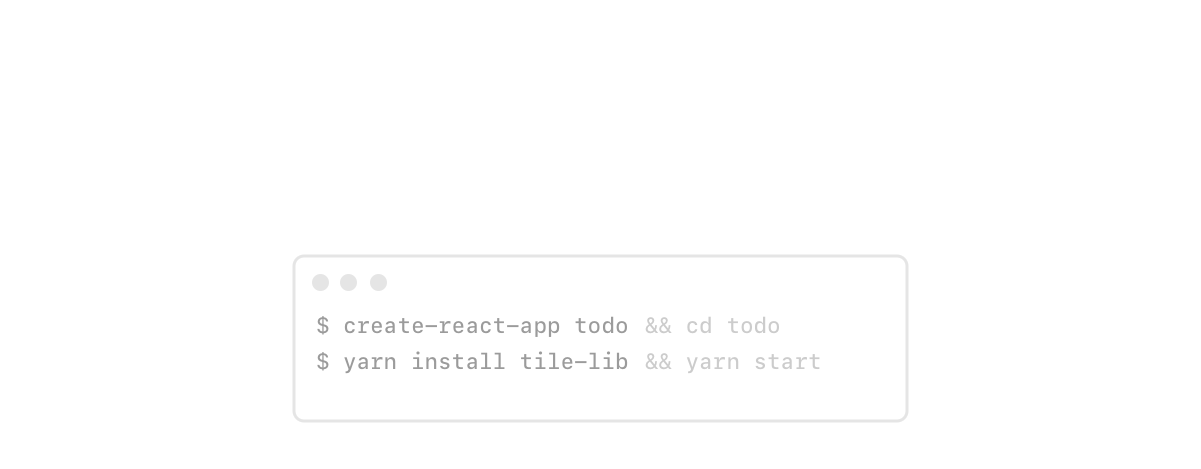
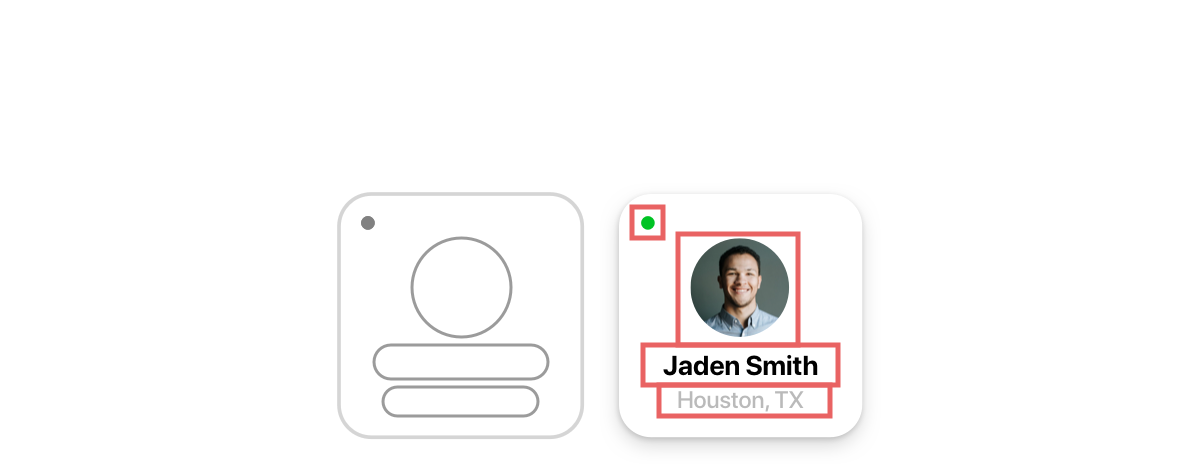
I used prototyping to get feedback from managers, developers, and users. I developed interactive prototypes with realistic data sets using React.js and a design system that I created.
This level of fidelity was only practical because of scaffolding tools and our design system. Running two terminal commands could get you a scaffolded app with all of your design system components ready to use.
There were many benefits to interactive prototypes that functioned similarly to production applications:
- Questions about different states were surfaced and answered before developers started building the application.
- Demos were presented in a way almost indistinguishable from how the product would work in production.
- Prototype styles were immediately transferable to the production environment.
Prototyping in the browser is much easier when the prototype environment and production environment share the same tools and frameworks. This was possible in our case but it took some work to get there.
Write specs and flesh out details
Sometimes you work hard on something, and you aren’t totally sure if it’s better than what currently exists. Legacy solutions have the added benefit of familiarity, which means new solutions need to be clearly better.
Once we reached a point where the problem we had surfaced was addressed in a way that was clearly better, I would write the details for what we would be building. I created design assets with instructions for engineers. Then we discussed the approach for development.
Developers are involved from the beginning, and at this stage feasibility needs to be confirmed. I took issues about feasibility seriously from the start. I didn't want to squash ideas with questions of feasibility before they’ve had time to grow, but I also didn't want to be working on functional prototypes without a developers feedback.

Implementation and Iteration
Once I wrote up the specifications, developers began building the feature. I would move on and spend time writing CSS styles and React.js design components that would be used in the feature.
Once we shipped, I would often conduct more interviews on how it was being used. We would use this information to refine the product. We often shipped products and features in multiple versions so the design process continued after the launch.
We made iterative improvements over a long period of time with a relentless focus on the product. As a result, we made applications that we were proud of.
Our decisions will never be perfect, but they can be better. Bolder. Wiser. The right process can steer us toward the right choice.
– Chip and Dan Heath
Design is hard. There are no silver bullets, but there are steps we can take to make better design decisions.
Having the right team in place is a large part of this. The applications and systems that supported them weren't formed in isolation. I'm thankful for the people that helped shape this process.